Overview
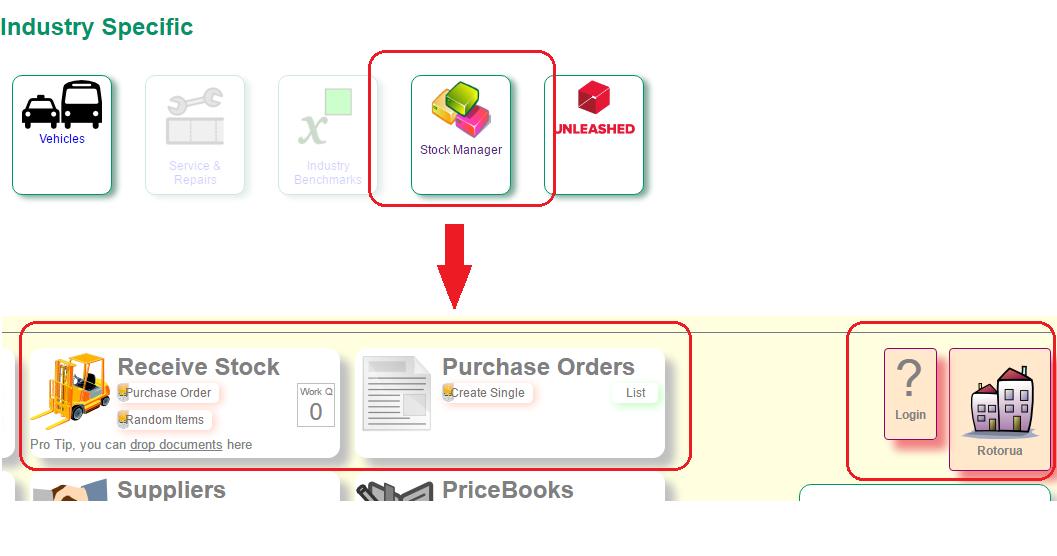
This document explains the steps in creating a purchase order to a supplier The Purchasing options can be found in the "Stock Manager" area which is located under the Industry Specific heading. Once in this screen you must select the store which are located in. This is done by selecting on the icon on the right hand side of the page and selecting your store from the list. If a store has not been set then a question mark will be displayed. For this example my current store selected is "Rotorua".
Creating a Purchase Order
- Click on the "Create Single" link in the Purchase Orders option.
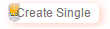
- A small select supplier window will be displayed to you. Start typing in the name of the supplier, the system will start searching using the characters entered.
Once the supplier in question is found click on their name and the following screen will open.
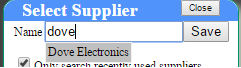
- This screen will list all products currently linked to this supplier prior to starting this process that are not marked as hidden in the pos. To reduce the number of items that are linked to this supplier from being displayed you can filter the list by departments under the "Options" button.
- To order more of all or selected items in your list, simply enter the amount you wish to order for each item in the right hand field.
- Once complete, click on the "Options" button and then select "Save Order". You order will be saved, and you will be displayed a "Keying Reference" number. You should make a note of this number as a record. You order is now in a "Pre Auth" state, so it is deemed as incompleted at this stage.
- To complete this order, Click on the "List" link the Purchase Orders option.
- All current open orders and the current state or your orders will be displayed.
This screen also has filters to select a date range, supplier and store to narrow your search results down.
To complete an order click on the order in question from the list or orders displayed.

- You can edit the qty ordered per line, add comments, and reject (cancel) the order and mark the order to a waiting state. Once marked as waiting the order cannot be edited again. To print the purchase order, select "View Order" to display it an separate screen and then print it using the print options in your web browser. "Email Order" is ticked and displays an email address is linked to this supplier.

- To send the order to your supplier select the option you want to use and then select the "Send Now" button. For this example I am using the "Email to Supplier" option and my order will be sent to the email address listed in the example screen shot.
Notes:
Icons Definitions
 When selected displays the Paraeto rank of each products displayed on the screen. The Pareto rank is the [C6] number displayed next to the qty box.
 Displays the size that this product can be ordered in. (eg. box of 12)
 Displays how many items are in stock in other stores.
 Information
 There are Recent Sales detected in POS system
 There is Stock On Hand at a minimum of one store in the POS system