Quick Links: Add New Receipt Printer | Set which printer is used
How to Add a New Receipt Printer
The following instructions can be used if you have installed your receipt printer and successfully printed a test page.
- Start your Fieldpine POS system, and select the "Menu" (or "more") button.
- Press the Quickcode button. If you cannot find the menu or quickcode buttons, enter "%q" on the main screen. This is a shortcut to the quickcode entry screen.
- Enter the following number into the quickcode screen and press execute now: 73838
-
The "Configure Sale/Receipt Printer" window will open.
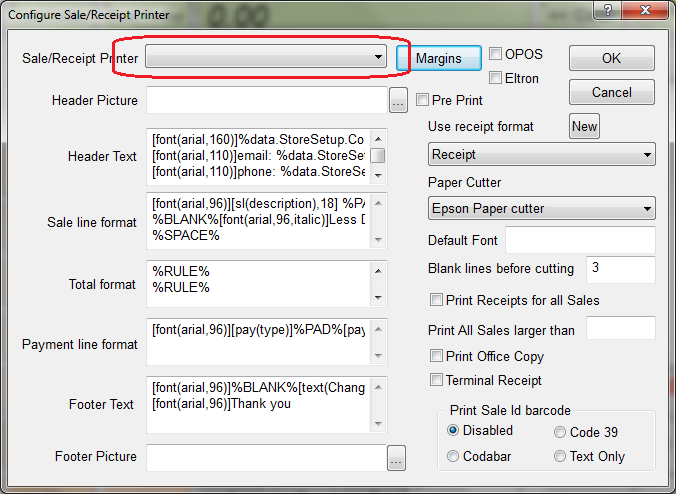
- Select the printer from the drop down menu on the "Sale/Receipt Printer" field.(see screen shot above)
- Select the type of "Paper Cutter" to use with your printer. (Note: Leave this selected as "Epson Paper Cutter" first and see if it works without changing. A lot of printers can use this option by default.) If your printer doesn't use a paper cutter then select the "No Paper Cutter" option.
- Press "Ok" to save any changes you have made.
- Perform a sale and confirm a receipt is printed to the correct printer.
Pro Tip
Internally, a number of settings are used to hold the receipt format details. If you hold the control key down while clicking the OK button, the POS will create a receipt_N.out file with all the settings. This file can be useful for support or larger sites wishing to centrally define and manage receipt formats
Set which printer is used by a receipt format
Different receipt formats can use different printers at the checkout. You may have a setup where different receipt formats are printed and these formats use different printers. For example, a cash customer might get a small receipt printed on a narrow receipt printer, but an account customer might get an A4 format document printed on a laser printer.
- First, ensure you can successfully print a "Windows Test Page" to the printer before configuring the POS. The Windows test page ensures that all Windows level setup has been correctly configured.
-
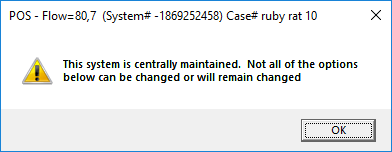
Start your Fieldpine POS application and enter the quickcode 73838. You may receive the warning message shown below if you are centrally controlled.
In this particular case,
you can ignore this message as you are able to set the printer to be used on each lane individually.
-
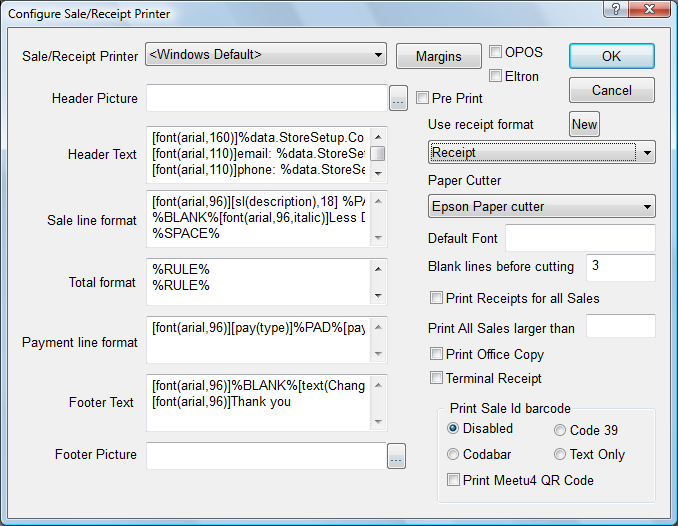
The "Configure Sale/Receipt Printer" screen will open.
-
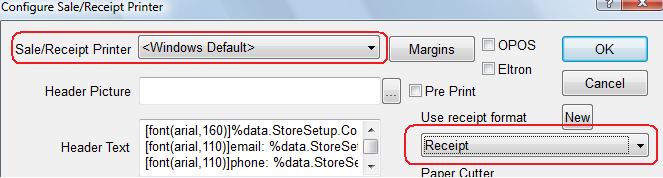
Select the "receipt format" you wish to link to a printer from the drop down list. Then select the printer it should appear on from the "Sale/Receipt Printer" drop down list.
-
Repeat for each format if you have multiple formats in use.
-
Once complete, click "OK" to exit tjhis screen and any others until you return to your main pos screen.
- Restart your POSGreen application in order for the changes made above to be fully effective.